Installing or replacing a gutter system might seem like a straightforward DIY project, but achieving professional-quality results requires careful planning and execution. Hiring a dependable roofing crew for this task ensures the job is done right. Still, many homeowners with basic tools and some construction experience can successfully tackle gutter installation themselves. Properly functioning gutters protect your home’s foundation, landscaping, and exterior from water damage during heavy rainfall. From taking accurate measurements and selecting appropriate materials to ensuring the correct slope and adding protective accessories, each step in the installation process plays a critical role in creating an effective drainage system. This comprehensive guide covers the essential techniques and considerations for hanging gutters that fit perfectly and perform reliably for years to come.
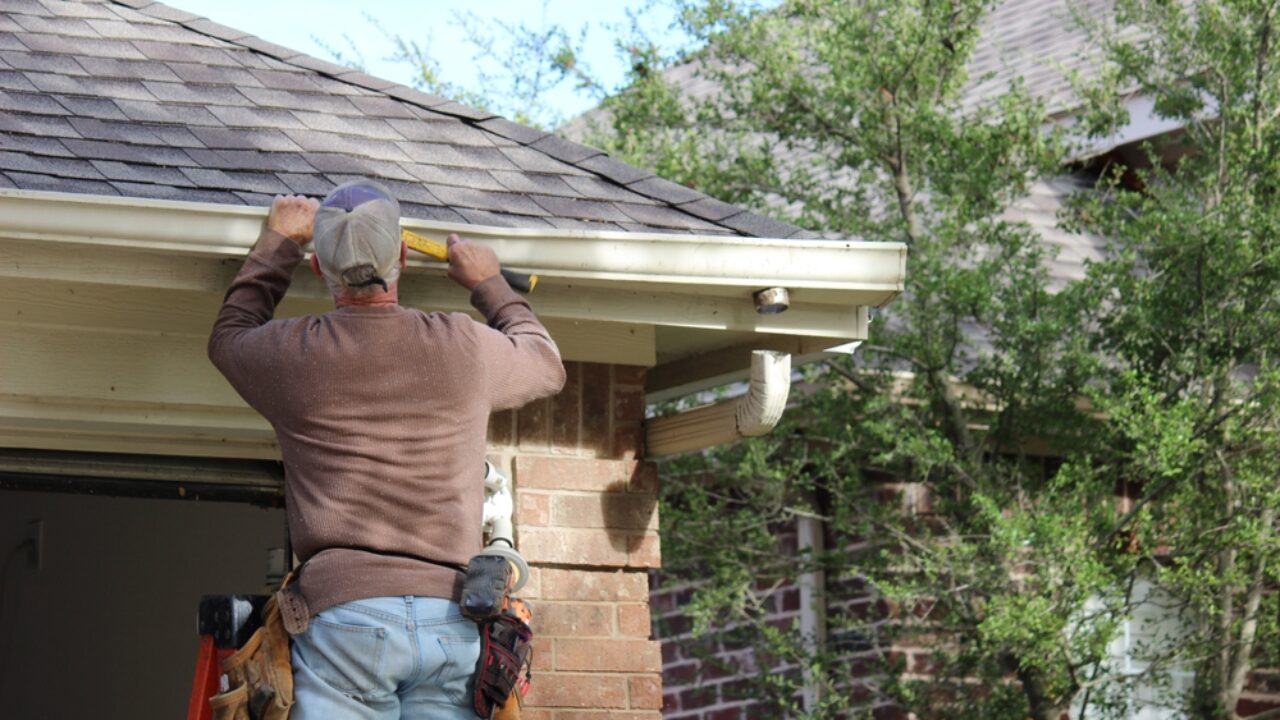
To guarantee precise gutter installation, use a measuring tape to determine the length required for your gutter system. Measure along the eaves of your roof, ensuring you account for any corners or angles where the gutter will turn. Take note of any downspout locations as well. Remember, it’s always better to slightly overestimate the length needed than to fall short. Once you have these measurements, add a few extra inches to allow for adjustments during installation. This precision in measuring will secure a seamless fit for your gutters, preventing leaks and other issues down the line. Taking the time to measure accurately now will save you time and headaches.
When choosing the right components for your gutter system, consider selecting durable and weather-resistant materials such as aluminum or vinyl. These materials offer longevity and low maintenance, guaranteeing your gutters stay in top condition for years. To make an informed decision, keep in mind the following key points:
Secure the gutters firmly attached to the fascia board using durable and weather-resistant hardware. Begin by positioning the gutter in the desired location, ensuring it slopes slightly towards the downspout. Use brackets to secure the gutter in place, spacing them no more than 36 inches apart for ideal support. Attach the brackets to the fascia board with screws, making sure they are tightly fastened. For extra stability, consider adding additional screws at each bracket. Confirm that the gutter is level and securely attached before moving to the next section. This step is vital to prevent sagging or detachment during heavy rain or winds, ensuring your gutter system functions effectively and lasts longer.
Guarantee that the gutter inclines slightly toward the designated downspout to facilitate proper drainage. To ensure efficient water flow and prevent pooling, follow these key steps:
To enhance the functionality of your gutter system, it is advisable to incorporate necessary accessories that optimize performance and durability. One vital accessory is gutter guards, which prevent debris from clogging up your gutters and causing water damage to your home. These guards come in various styles, including mesh, screen, and bottle brush designs, and are essential for maintaining a free-flowing gutter system. Another important accessory is downspout extensions, which direct water away from your home’s foundation, preventing erosion and basement flooding. Moreover, consider adding splash blocks or guards to ensure water is properly diverted from your property. By including these essential accessories, you can significantly improve the efficiency and longevity of your gutter system.
Share :
Jacksonville
4600 Touchton Rd Building 100, Suite 150, Jacksonville, FL 32246, United States
Orlando
37 N Orange Ave #500, Orlando, FL 32801, United States
Tampa
5401 W Kennedy Blvd., Ste 100, Tampa, FL 33609
Venice
1101 Tamiami Trail S, Ste 100T, Venice, FL 34285
West Palm Beach
1645 Palm Beach Lakes Blvd. Suite 1200, West Palm Beach, FL 33401
Monday – Friday: 9:00 AM – 5:00 PM
Saturday – Sunday: Closed
Subscribe to our newsletter for the latest updates and offers.